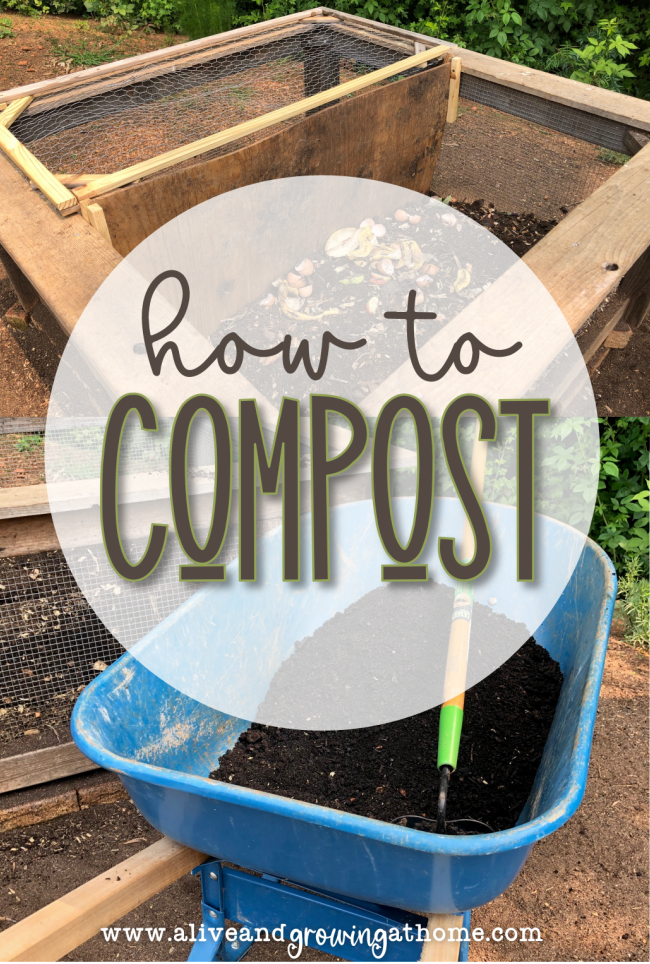
Let’s talk about how to compost.
Compost is such a great way to use your kitchen scraps and valuable source of nutrients for your soil and plants! And once it’s set up, it doesn’t cost a dime to maintain, giving you rich soil for your garden. Woohoo!
You might also like my post, Keeping a Compost Bin and Chickens.
*I am a participant in the Amazon Services LLC Associates Program, an affiliate advertising program designed to provide a means for me to earn fees by linking to Amazon.com and affiliated sites.
How to Compost: Tips and Tricks
To begin with, you’ll need a composting bin. You can totally buy an already-made bin online or make your own.
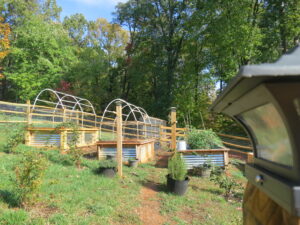
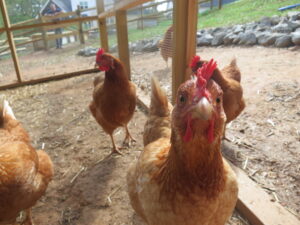
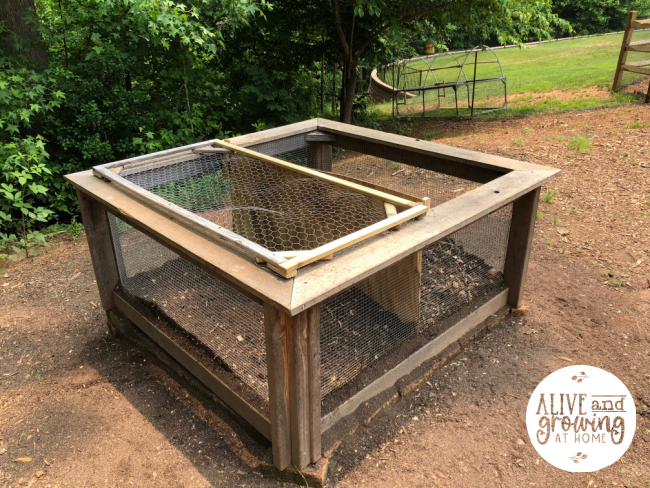
My bin is homemade using wood and hard cloth and rests on leftover bricks from when our house was built. It is located near the garden and where the chickens have access to it {or at least half of it}.
When you really break it down {See what I did there? Ha!}, compost needs four basic things to be successful:
- air flow/oxygen
- moderate sunlight
- moisture
- the right balance of nitrogen, “greens” to carbon, “browns”
You’ll want to put your bin close to your garden and in a spot that gets moderate sun {for heat} but not so much sun that it stays dried out. Remember, compost needs moisture to be successful.
What TO Compost
You’ll also want to be sure you have a good mix of “greens” and “browns.” “Greens” are high in nitrogen, decompose quickly, and generally appear wet. “Browns” are high in carbon, take longer to decompose, and generally look dry.
A good ratio of “browns” to “greens” in your compost is about three to four-part “browns” to one-part “greens.”

Some common “greens” include: grass clippings {not sprayed with pesticides or weed killers} , OLD and dried out cow or chicken manure {NOT fresh}, vegetable scraps, fruit scraps {not citrus at first}, coffee grinds {I prefer organic}, egg shells, chicken feathers {from your backyard chickens}, and hair {human and animal hair are both okay}
Some common “browns” include: hay or straw, cardboard/packing paper, paper/newspaper, saw dust {untreated only}, brown leaves, twigs/small branches, and wood ash
What not to Compost
There are kitchen and yard scraps that you DO NOT want in your compost.
They include:
- meat products
- dairy products
- Styrofoam and plastic items
- most cooked or baked items
- treated wood
- cooking oils
- pet or human waste
- onion and garlic scraps
- plants or weeds that have gone to seed
- citric fruit – avoid for at least the first couple of years, as it takes much longer to break down
Starting Your Own Compost
If your town or city sells compost, like ours does, you may want to start with that instead of starting from the ground up. You can start adding your browns and greens to that compost, which is what I did.
But if you want organic compost or you just want to try it on your own, here is the procedure you would follow:
- You can start your compost by breaking down cardboard boxes or placing little twigs you’ve collected from your yard at the very bottom. To allow airflow, try to pile them about three to four inches high.
- Next place some greens about six to eight inches high. Grass clippings or kitchen scraps work great here if you have them.
- Water well, but be sure not to make it too wet. Just a little bit of moisture goes a long way.
- Sprinkle a little bit of soil on the top of your “browns” and “greens.”
- Repeat steps 1-4, creating brown, then green layers* until you’ve filled it up to the top or as much as you can with what you have.
- Every few days to once a week or so, mix up or turn over your compost.
*If you desire to speed up the composting process, you can spray each layer with a mixture of one can of beer, sugar water {about 3 TBS of sugar to 12 oz of warm water}, and ammonia {only about 1/4 cup of ammonia is needed}.
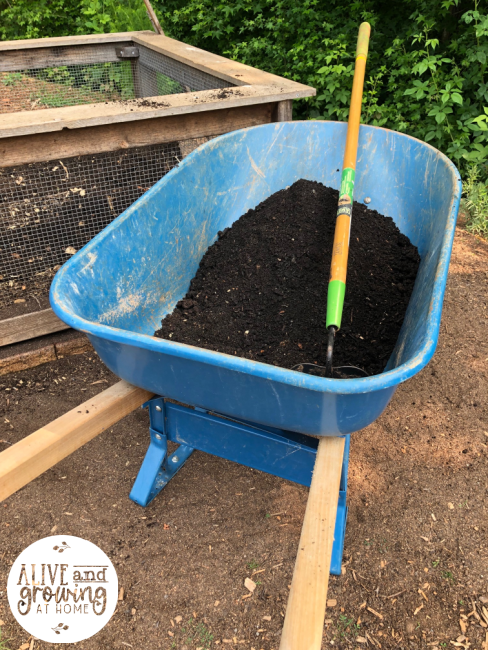
It will probably take a few months before you’ll have compost you can use in your garden. If you start it and leave it unattended, it will take much longer to get that beautiful black compost.
You’ll know it’s ready when it’s about half the size it was when you started, and it should have an “earthy” smell to it. It should not stink. See the tips below if it stinks.
More Composting Tips and Tricks:
- Your compost will need to be turned over or mixed often in order to help the scraps break down and to keep it from smelling. I use a pitchfork to “stir” mine.
- The smaller the size of the food scraps that you throw in, the quicker they will break down. Conversely, the larger the size, the longer it will take to break down. To speed up that process, it helps to break things into smaller pieces before throwing it on your compost. {I don’t always do the best job with this.}
- If your compost has too many “green” items, it may become too wet and begin to stink. Try adding more “brown” to it or removing some of the “green.”
- If your compost still stinks, add soil to it and mix it up every two to three days.
- If your compost begins to attract bees or flies, carefully bury the food scraps deeper down or add a layer of soil on the top to cover up your scraps.
- For even more tips, snag a book on composting such as, Composting for the Absolute Beginner by Dede Cummings.
Enjoy composting!
~Becky
You’ll also Like…

Leave a Reply