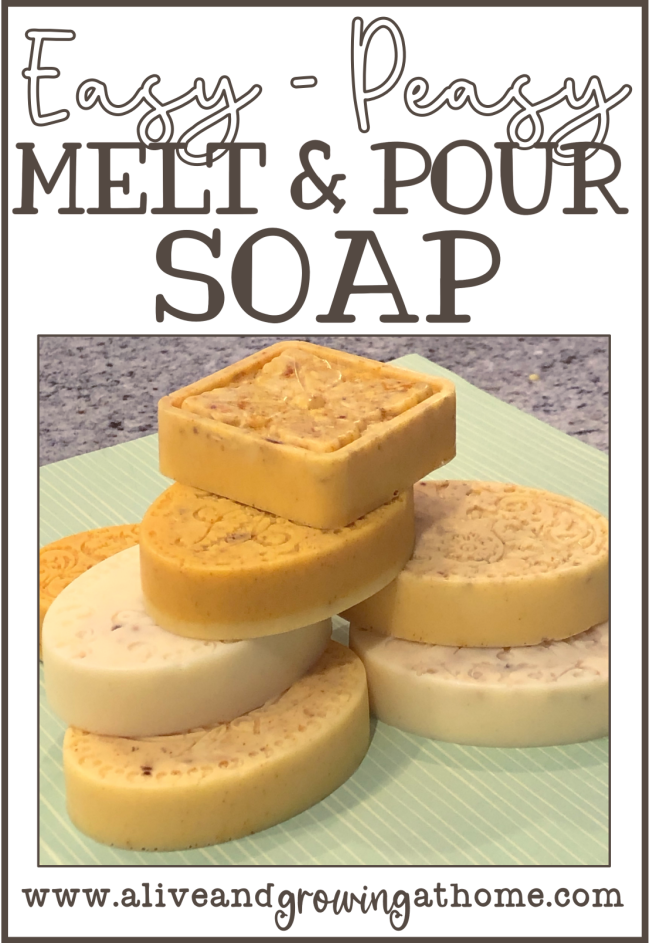
This EASY melt and pour soap recipe helped me to see that making soap didn’t need to be complicated or hard.
If the last two and a half years of life have taught me anything, it’s that I need to be walking and doing life with solid Christian believers AND that I should start learning how to make things myself.
Soap was one of those things on my list. I wanted to learn how to make it!
*Grab the printable recipe by clicking on the green download button towards the bottom of this post!
**I am a participant in the Amazon Services LLC Associates Program, an affiliate advertising program designed to provide a means for me to earn fees by linking to Amazon.com and affiliated sites.
Soap Making for “Beginners”
When I first wanted to start making my own soap, I started watching YouTube videos. But it seemed every video told me something different. I was so confused!
My next step was to buy a beginner’s soap making book. Surely, this would be perfect! While it the book had the word “beginner” in the title, it seemed there was nothing “beginner” about this book. It sounded SO complicated…and dangerous. I resigned to the fact that I’d probably never make my own soap.
A few months passed by and then my cousin told me how she was making her own soap. She is local, so I just had to learn!
I was excited to hear that I didn’t need to create my own base by using the melt and pour method. What?!? Where had this been my whole life? And why had I never heard of it!
She showed me lots of tricks of the trade. But because I’m a simple person, I was drawn to the most simple idea…just use what I already had in my kitchen to make a super simple soap.
EASY Melt and Pour Soap
The following recipe has no fancy essential oils. No fancy colors. Just plain and simple and natural with things you probably already have. So, here it is…my EASY melt and pour soap recipe! {It really doesn’t get much easier than this.}
*Yields 7-8 bars of soap in the molds I used.
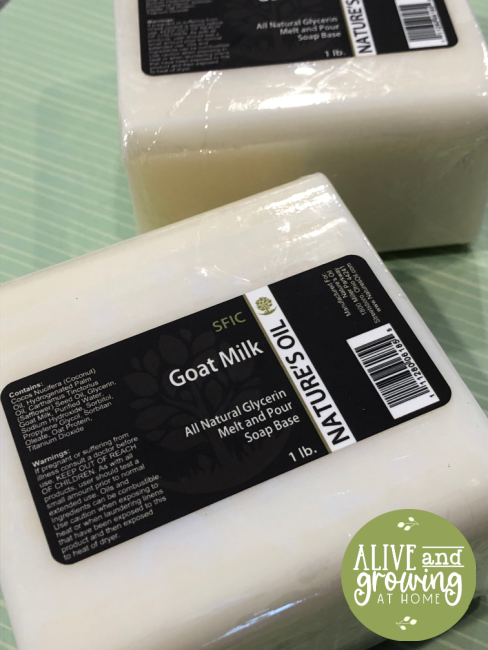
Materials You’ll Need:
- One pound {1 lb.} goat soap base – Purchase it on Amazon if that’s your cup of tea. I purchased mine through Bulk Apothecary.
- soap molds – like these
- thermometer – We have an infrared thermometer that we purchased years ago for our bearded dragon; if you have a candy thermometer, it should work, too.
- small glass jar – Don’t use a really big one, as it can make it difficult to stir, empty, and clean
- cutting board and knife dedicated to soap making – I just used an old cutting board and knife I already had
- plastic spatula – to stir the base
- microwave – Use at 40-50% power so you don’t scald the base. There’s also a double-boiler way of melting the soap base, but the microwave is WAY faster.
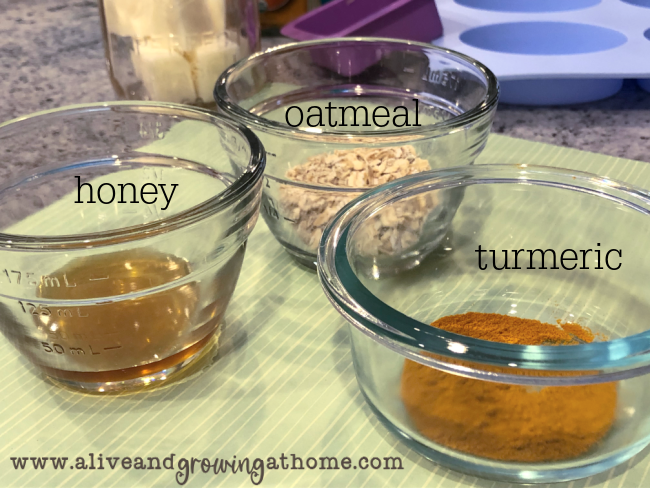
- turmeric for color {optional} – I use organic turmeric from my spice drawer.
- honey – I use raw local honey
- chopped oatmeal – I use organic oatmeal from my pantry
- rubbing alcohol – in a spray bottle
Making the EASY Melt and Pour Soap
Follow these easy steps to make the soap.
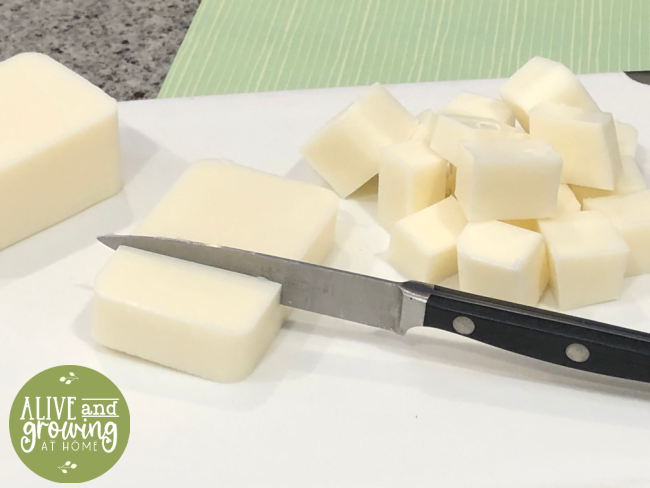 Step 1: With your knife, cut up the soap base into smaller cubes. Try to make the cubes as uniform as possible.
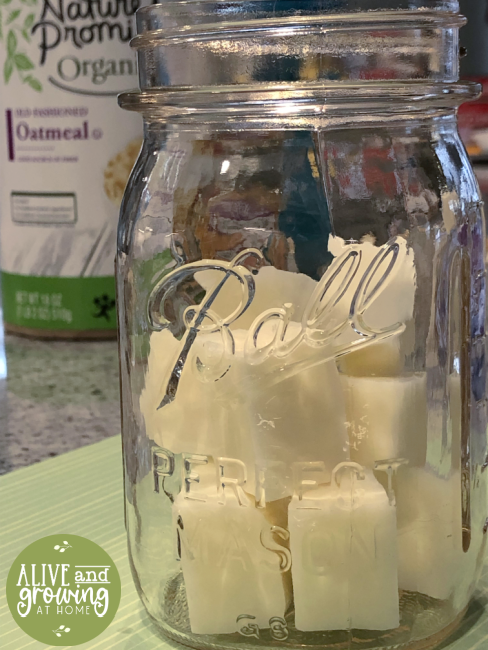
Step 2: Put the cubes in a glass jar. I only do about 8-9 at a time because it begins cooling faster than I can keep up if I put in more.
Step 3: Put the glass jar in the microwave for one minute on power level 40-50%. Please note that everyone’s microwave is different, so you may want to do 30-second intervals at first to see how your microwave does.
Step 4: Take the jar out using a pot holder and make sure all the cubes have melted. Stir with spatula. It should be liquid-y like milk. If not all the pieces have melted, put it back in for 10-second intervals on half power. Just be sure it doesn’t scald.
Step 5: Stir well and wait until the temperature of the soap base is below 135. If it’s higher, give it just a minute to cool down.
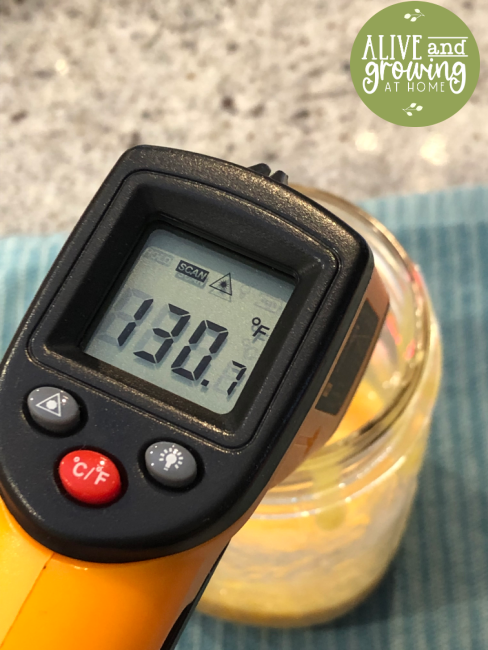
Step 6: Once your soap base is below 135 degrees, add your ingredients. I add about 1 tsp of oatmeal, 1/4 tsp of turmeric*, and 1/4 to 1/2 tsp of honey** and stir it in with the spatula. Note: None of these are exact measurements.
*The more turmeric you add, the darker orange your soap will be. I would caution on using too much turmeric though, as your soap may stain anything it sits on.
**I don’t recommend putting more honey in than this, as it will make your soap a little stickier than you might like.
Step 7: Pour your liquid soap into your soap molds.
If you want to get rid of any bubbles that may form, just spray a little rubbing alcohol. Honestly, I don’t really care about the bubbles myself. But if you wanted to give them as gifts, you can use it to make the tiny bubbles disappear. {See the image below for a before and after.}
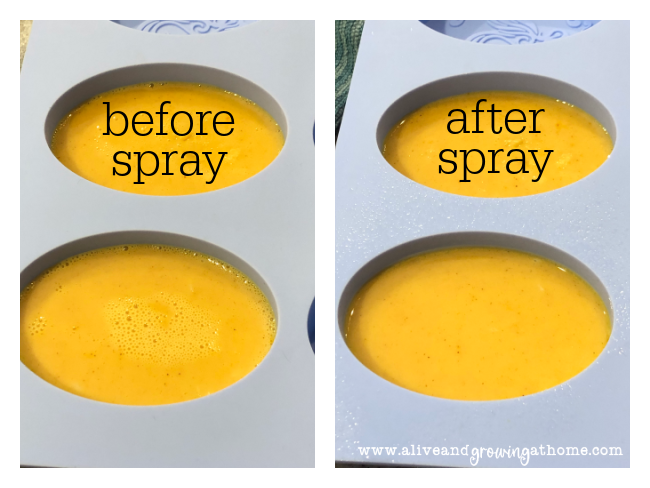
Step 8: Repeat Steps 1-7 with more cubed soap base.
Step 9: Let your soap set for about an hour. If your soap molds are bigger than the ones I used, it may take longer than an hour for the soap to harden all the way. You may need three or more hours.
Step 10: After your soap has set, pop it out and store in an airtight bag, like a sandwich zip bag, until you’re ready to use it.
Want more Melt & Pour Soap Recipes? Jan Berry’s book has tons of unique recipes and techniques to try out.
Click below to download or print this recipe:
Do you make melt and pour soaps? I’d love to hear from you in the comments, especially if you have another easy melt and pour soap recipe to share!
~Becky
You Might Also Like



Thank you for sharing a truly simple recipe! I’ve been trying my hand at making homemade laundry detergent and all-purpose cleaner. Took me a while to find recipes that didn’t make me feel like I was going to blow something up if my measurements were off by a micro-ounce 😂. I am now looking to make body soap to help with the various skin issues in the home because buying natural can get a little pricey. I’m excited about giving this one a try. Thanks again for sharing.
Aw, you’re welcome! I hope it works for you! 🙂